Create Attribute in Magento
31 January 2017
By limenotlemon
Create Attribute in Magento
There is no doubt that Attribute is one of the most important organization tools in Magento. Attributes are the building blocks of your product catalog. They help describe a specific characteristic of a product. There are several ways which you can try to enhance shopping experience with attributes :
- Input control for product option
- Search parameters
- As layered navigation “Shop By” parameters
- Provide additional information on product pages
- In product comparison reports
- In catalog and shopping cart price rules
It is very important to make a plan ahead of time and know how to set up your attributes and attributes set. Both of them are inseparable. In order to create attribute sets, you need to create attributes first. You can use your attributes in various areas inside your backend. For example, to create a layered navigation in order to find what you are looking for, or filter for discount price rules.
There are values inside each attribute which describe special characteristic for your products, like “fabric”, “color”, “size”, etc. One attribute with drop-down type input can contain various values, although you only can apply few of them for each product. Due to the fact that an attribute can be used for multiple products, there is no need for you to create the same attribute twice.
You are free to create as many attributes as you want, assign common values as default, so it would be easier for your customers to select the options.
There are some important things which you need to keep in mind. There is no way for you to change your product’s attribute set after you created that product. You still can re-configure the attribute set, but whatever set you assigned to the product when it’s created, will remain there until you delete it.
Give a decent name for your attributes, the one which suits your website the most. If you are consistent in your attribute’s name, it would be easier for you to create your attribute sets.
Try to reuse your attributes whenever you can. Attributes usually used in the “compare product” feature. You can easily compare “color”, but it is hard to do the same for “bag color” and “clothes color”. That is because two of them are different attributes and will not show up in the same grid. Instead of using two different attributes like that, it would be better to use a single attribute “color” for both bags and clothes. It would be more convenient that way.
When you see it from the Admin Panel area, attributes are the field which you can complete whenever you add new products in your store.
There are several reasons why attributes are critical for your online store :
- Attributes can give you an almost limitless power to control your products.
- Attributes created to be able to adapt to your products. This is also one of the main reasons why many store owners and developers decide to use Magento as their E-commerce platform.
- There is no need to add any columns into your database via manual method. That way, you do not have to be afraid you may have broken your database.
- There is no need to code anything.
- You can provide a new room for any new information by means of the new attribute. In the default set, Magento provides a list of 66 product attributes for your attribute sets, but you are free to add as much as you need.
Creating Attribute :
So, where your attributes and attribute sets will be located? Go to Catalog -> Attributes -> Manage Attributes. You can see all the attributes which exist in your shop now. You also can edit or add a new attribute.
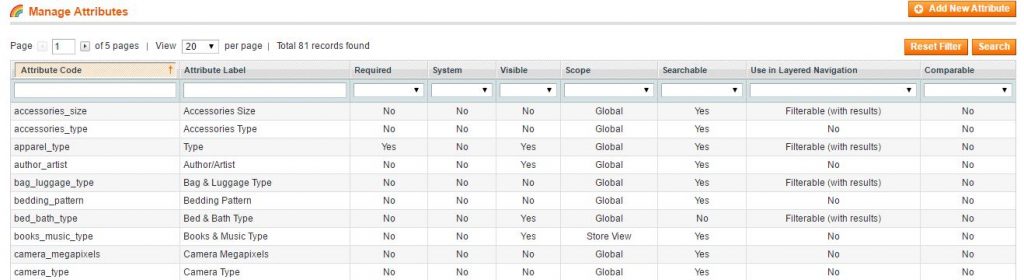
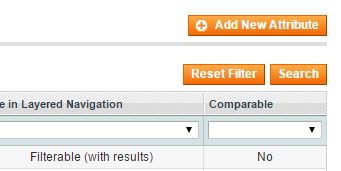
Attribute’s properties can determine how it will be used in your catalog and how it will appear in your store. Beside basic properties, there are some additional properties for multiple select inputs and drop-downs, associated labels and values. If your store has more than one language, you can enter the translation for each label. To create an attribute, log in into your Admin Panel. Select Catalog -> Attributes -> Manage Attributes. Click “Add New Attribute” button.
In the attribute properties section, fill in all the required fields first (the ones with * mark).
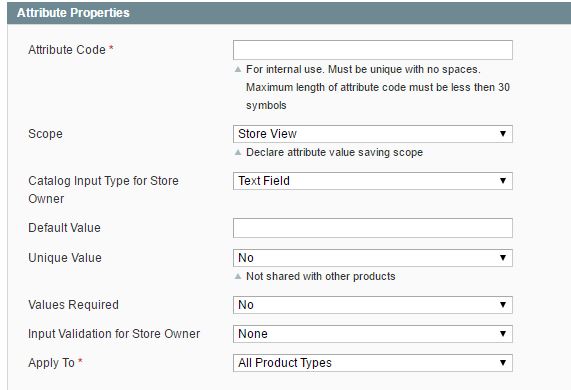
Attribute Code
Fill in a unique attribute code to identify the attributes internally. You must use all lowercase characters for the code and do not use any spaces.
Scope
Set it to decide where you want your attributes to be used.
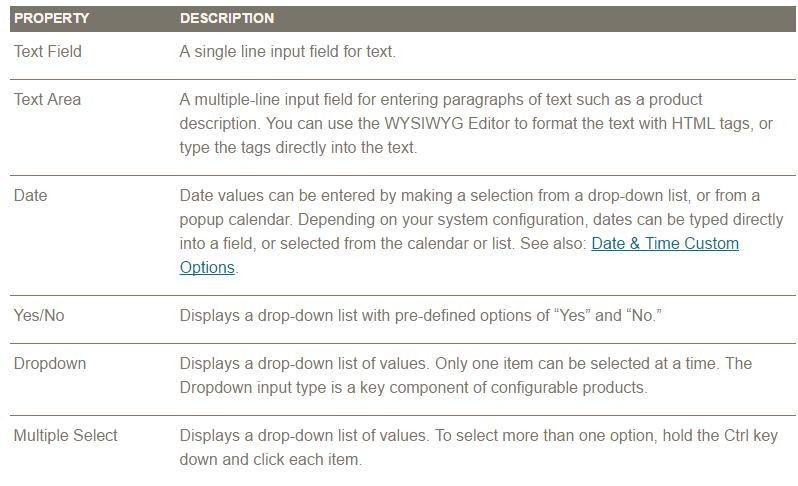
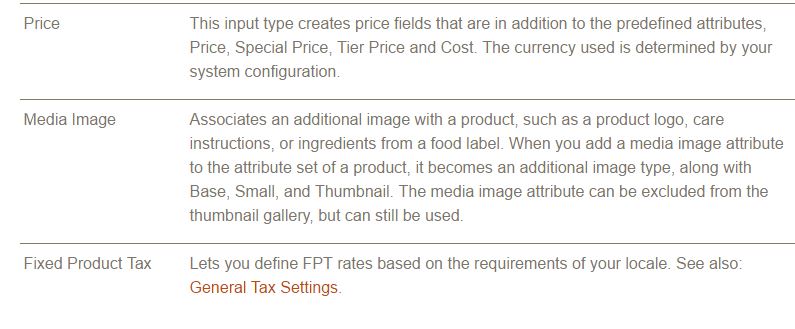
Catalog Input Type for Store Owner
To set the type of input control which used by your store’s administrator when he or she inputs the data.
Unique Value
This is useful when you want to prevent duplicate values to get inserted into the field. Set it to “Yes”.
Values Required
This option is to require a value must be inserted first before a new record can be saved.
Input Validation for Store Owner
If you want to run a validity test for the data entered into the field, you can set this to the type of data the attribute must contain.
At the bottom part, you can see the Frontend Properties for your new attribute. Frontend Properties can determine how attributes will be used in your store.
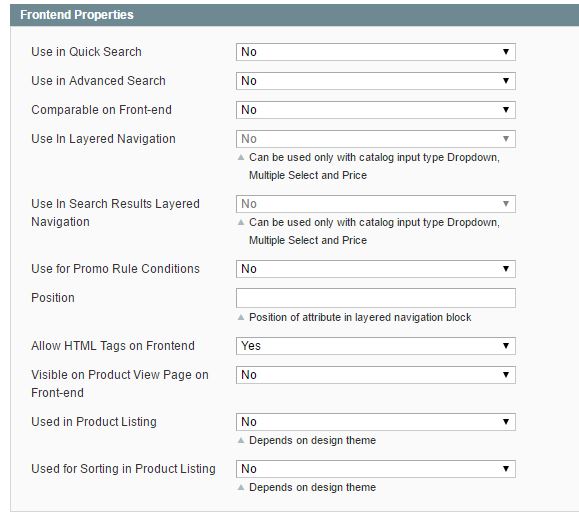
Use in Quick Search
If you want people to be able to search the catalog by using this one particular attribute, then set it to “Yes”.
Use in Advanced Search
This can give customers the ability to enter their search criteria by using a form.
Comparable on Front-end
If you pick “Yes”, you can include this attribute as a row in the Compare Products report.
Use In Layered Navigation
Choose “No” if you do not want the attributes to be used in the layered navigation. If you only want to list products which match the filter value, choose “Filterable (with results)”. If you want to list all the attribute values choose “Filterable (no results)”. Layered navigation only available in category page if there is any filterable attributes exist.
Use In Search Results Layered Navigation
Choose “Yes” if you want to include the attribute in the layered navigation for search results.
Use for Promo Rule Conditions
Select “Yes” to make the attribute available for price rules.
Position
To determine the position of the attribute in layered navigation in relation to other filterable attributes.
Allow HTML Tags on Frontend
To be able to format the attribute value with HTML tags.
Visible on Product View Page on Front-end
To include the attribute on the Additional Information tab of the product page.
Used in Product Listing
To include the attribute in product summaries that appear in catalog listings.
Used for Sorting in Product Listing
To include this attribute as a “Sort By” option for catalog listings.
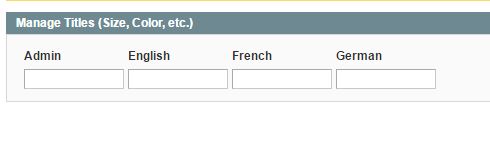
After you finish fill in all the required fields in the Properties tab, now we move to the Manage Label/Options tab. Under the Manage Titles section, enter a descriptive label to identify the field during data entry under the Admin field. All the fields after that determine how the label will appear in your store view. You can keep it blank if you want to use the admin label as a default label. If your store is available in several different languages, you can enter the translated label in each field. Save your attribute when you finish.
Creating Attribute Sets :
Now, let’s talk about Attribute sets. Attribute sets are very useful if you have multiple different products in your online store and you want to assign a set of attributes to complement all of them. For example, if you sell women’s bag on your website, then you can set attributes like these :
- Bag’s brand
- Color
- Type
- Material, etc.
All of those attributes, when grouped together in an Attribute Set can easily be assigned to your product when you created it. It will be easier rather than set all of them individually to each product.
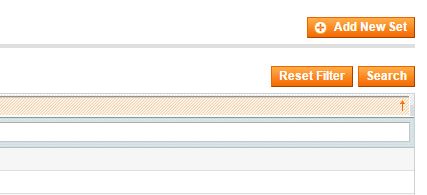
To create Attribute Sets, go to Admin Panel -> Catalog -> Attributes -> Manage Attribute Sets. Click the “Add New Set” button at the upper-right part of the page.
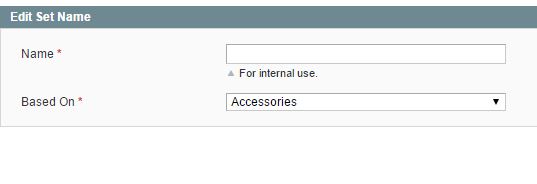
Name
Enter a proper name for your new attribute set.
Based On
In this field, select another attribute set from which this attribute set is to inherit attributes. This option allows you to re-use the attributes already defined in a set to build another attribute set. If you do not know what to pick, just set it to default.
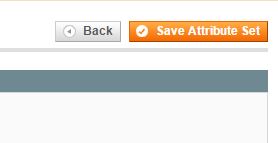
Click “Save Attribute Set” button.
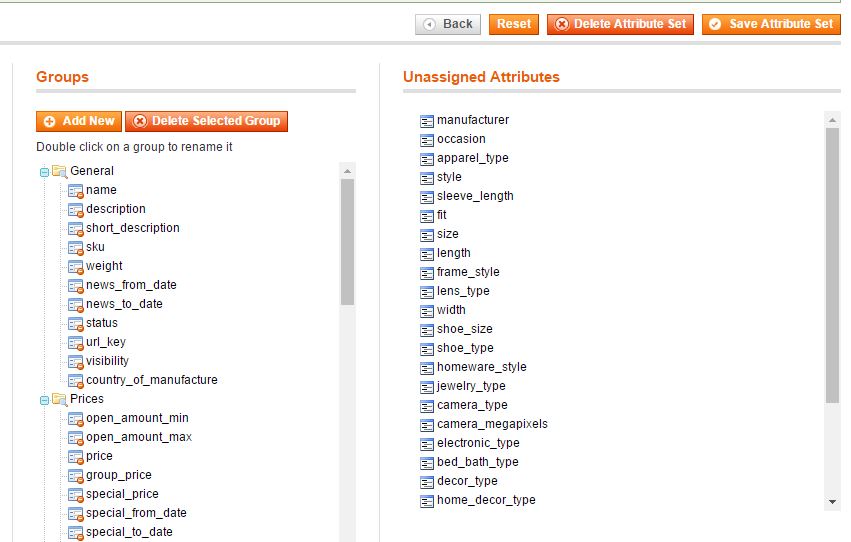
The Unassigned Attributes column contains all attributes which have not assigned yet. You can find a set of different attributes under the Group column. If you want you can add new group attribute. To assign attribute from right column to middle column, simply drag it over. Once you have configured the best set for your attribute, click “Save Attribute Set” button.
Remember that you can not use your Magento attribute in a new product creation until you assigned them to the attribute sets. So, which one shall go first, product or attribute? The answer is, of course, attribute. That is mean, if you want to add a new product in your Magento online store, you need to assign a relevant attribute to the corresponding attribute sets. After that finished, you can create a new product.
If you do not add attribute beforehand, they will not be available when you adding new products, and in order to correct it, you must edit it again, which means do the same job twice and wasting your time.
Not all attributes are the same. Some of them can be visible to your customers, where the others are not and left behind the stage. The not visible attributes are, for example, SKU, meta details, tax, etc. They are used for a different kind of purposes compared to the visible ones, but each of them is equally important and contain useful information for representation and creation of product at the front-end.
That is how to create Attributes and Attribute Sets in Magento. If you have any question, feel free to ask us!