Set Up Configurable Swatches

31 January 2017
By limenotlemon
Set Up Configurable Swatches
Magento comes with various kind of product optimization options, and configurable swatches are one of them. So, what are configurable swatches? Configurable swatches are the feature available in Magento which allows you to be able to visually display various kind of option for your configurable products, like sizes or colors. The option will appear as a clickable swatch instead of the common drop-down menu.
This option gives a more visual appealing for your product information, and you can use this option in the category pages, product pages, and layered navigation. Unfortunately, this option is not available by default in Magento before 1.9 version. If you have an old version of Magento and want to use swatches, you need to install an additional module first.
In this article, you will learn how to use swatches so your product presentation will look more appealing than before.
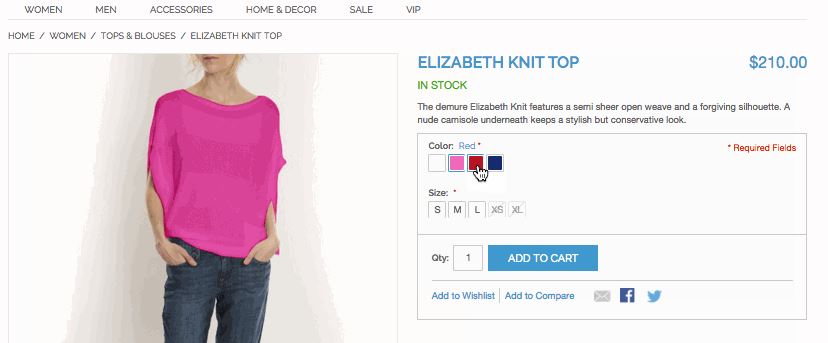
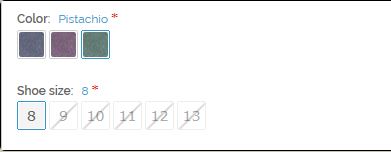
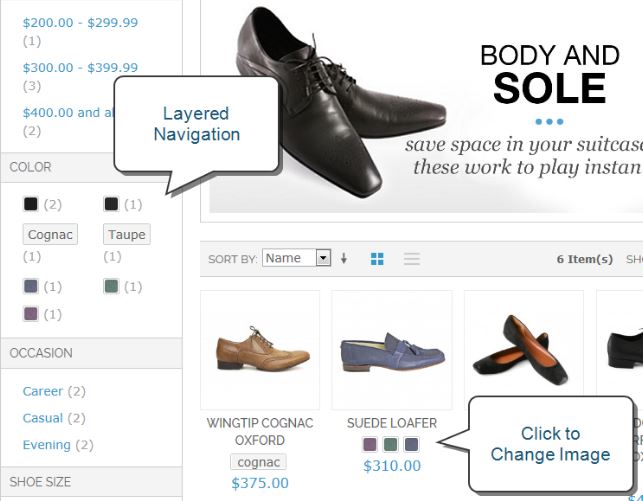
In your product page, you can offer swatches feature to show all available options for colors and sizes. Usually, if one or more options are not available, it will get a cross mark on top, like in this picture.
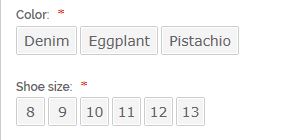
If you still prepare any images for your swatches feature, then the attribute value will appear as a text instead. This text-based swatch basically like a button with text on top of it, and will work the same way as the image swatch. Like in the image bellow, the color swatches uses a text-based swatch instead of an image.
You also can use swatch function for layered navigation. In order to appear in the layered navigation, you need to set “Use in Layered Navigation” to Yes.
In order to create swatches, you need to create a configurable product first. The configurable product basically is a single product with several options available for variation. Each item in the configurable product actually a bunch of simple products with their own SKUs, so it is possible to track them separately. This is what make configurable product different than simple product with custom options.
Using configurable product can save a lot of your time later, even if it needs more SKUs and time to create. This feature is very useful if you plan to grow your business even more
Create Attribute :
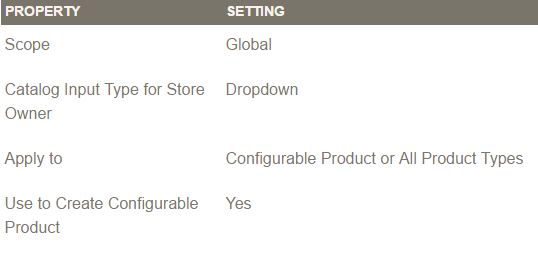
Configurable product needs an attribute, so let’s create it first. In Admin Panel, go to Catalog -> Attribute -> Manage Attributes. If the attribute already there and has all correct properties, then you can add it to the attribute set. If not, then you need to create one. These are all required properties for an attribute.
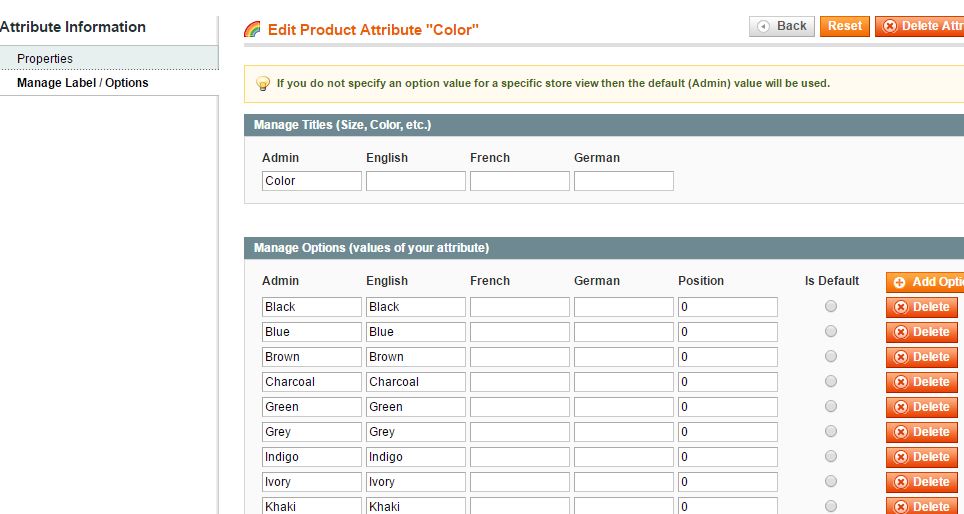
Do not forget to specify the values that will be used in the configurable swatches. You can specify it in “Manage Label / Options” section, under “Properties”. You can see our example below. The values are “Black”, “Blue”, “Brown”, etc.
Create Attribute Sets :
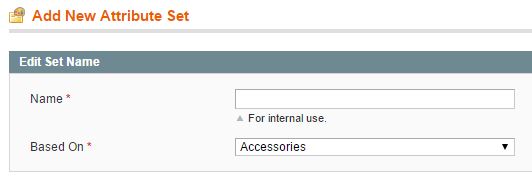
Now, we need to create an attribute set. Go to Catalog -> Attribute -> Manage Attribute Sets, then click the “Add New Set” button.
Set a name for this attribute set, and select a proper attribute set for “Based On” field. After that, click the “Save Attribute Set” button.
You can move attributes from the “Unassigned Attributes” to the “Group” . Simply drag-down any attributes you want. Feel free to arrange them in any order.

If you want to add new attribute group in the Group section, click the “Add New” button.
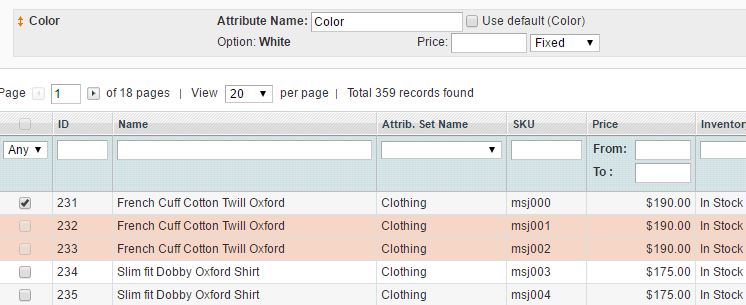
Create Configurable Product :
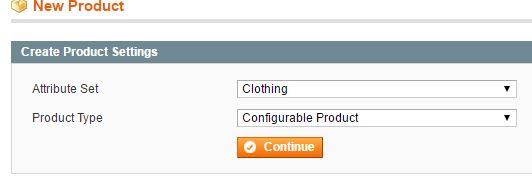
Now. we will create a configurable product. Go to Catalog -> Manage Product, then click “Add Product” button. Choose the attribute set you created before and set the Product Type to “Configurable Product”. Click “Continue” button.
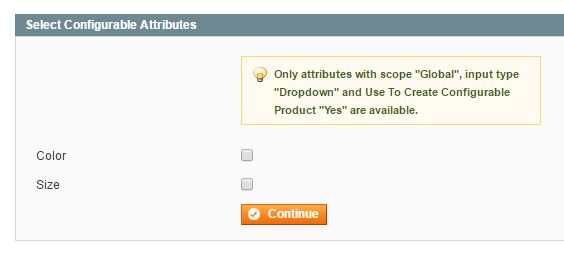
Check which attributes you want to use. The product information fields here are the same as the ones you can find in Simple Product page. You can fill them in the same way, except for some fields.
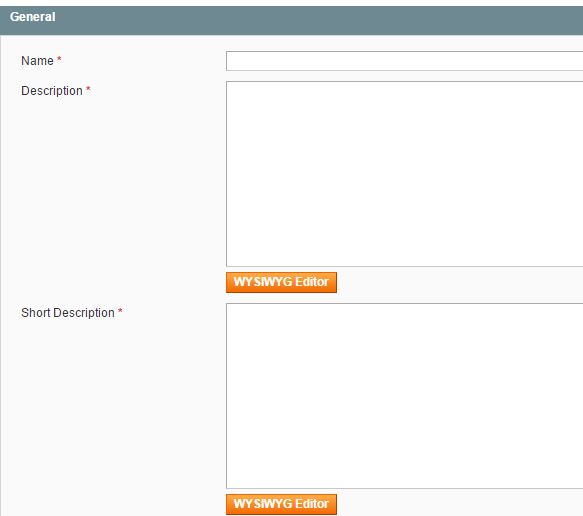
Price tab still acts as a required field, but the price you put in there will be a default price. You can adjust each product’s prices accordingly. In the inventory tab, Manage Stock will be set to “No” as a default option. After you finished fill in all the information, click “Save and Continue Edit” button.
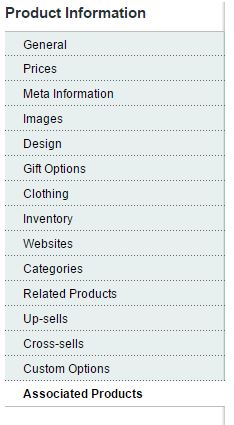
Now, we will add the associated products. At the left side panel, choose the last one, “Associated Product”. To add associated products inside configurable product, you can either create simple associated product from scratch or select items from the available product list below.
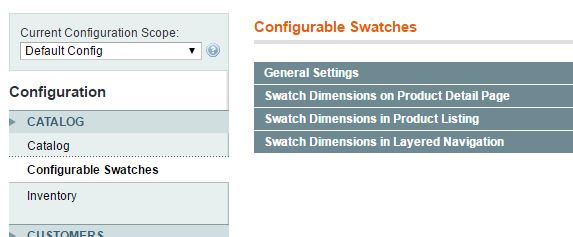
Swatch Configuration :
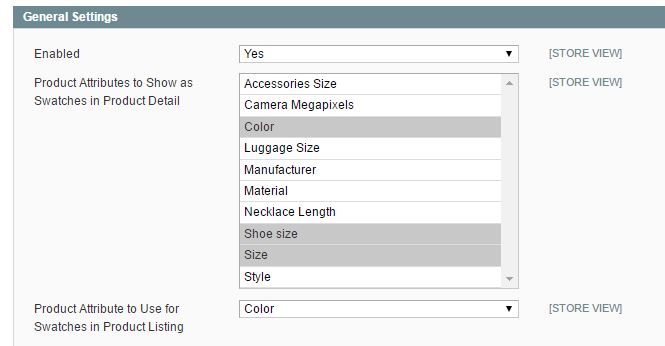
Now, let’s talk about swatch configuration. In Admin Panel, go to System -> Configuration. At the left panel, click “Configurable Swatches”. Click the “General Setting” to show all the configuration. Set “Yes” to Enabled field. Select each attribute which you want to appear as a swatch in the “Product Attributes to Show as Swatches in Product Detail” field. Last, in the “Product Attribute to Use for Swatches in Product Listing” field, choose an attribute to appear as a swatch in the product list. You only can choose one attribute due to the limited space in the product listing.
Now, if you want to set the swatches size in product detail page, click to expand the “Swatch Dimensions on Product Detail Page” section. It will look like this.
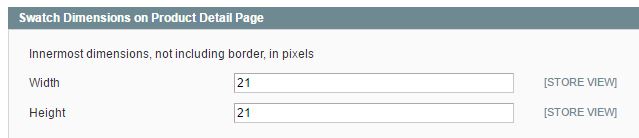
Fill in the Width and the Height in pixels.
You can do the same for “Swatch Dimensions in Product Listing” option and “Swatch Dimensions in Layered Navigation” option. When finished, click the “Save Config” button.
Adding Global Swatch Image :
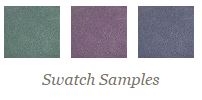
Swatch image can represent a more accurate color for customers to pick. It also able to represent texture or pattern.
The images you want to use should be uploaded in png format. Swatch images can be used by all products and will be available globally.
The size of the uploaded images and the size of swatch in configuration will determine the level of detail that people can see in your swatch. If you plan to show the pattern clearly, then you need to ensure the image is big enough to be able to capture the pattern.
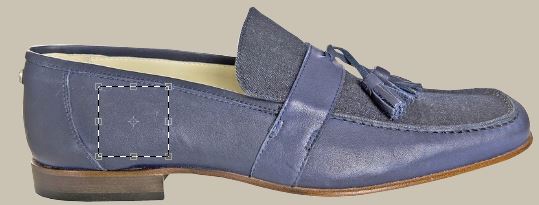
To be able to show the texture, fabric weave or grain of the leather, use images with high resolution, and crop it as close to the display size as possible. In order to capture an image for your swatch, you can use your product image and crop it with photo editor software. You also can create an empty swatch and fill in with the exact color you need (you can use the eyedropper tool to get the same effect and color).
If you have the physical product in your hand, you can take the photograph of the material or fabric with your camera and upload it to your computer.
There are two ways to add the global swatch image :
- Upload image swatches to media storage
Before you upload any image, make sure each image files have the names match with the corresponding attributes. For example, an image with red color should be named “red.png” which match with its value attribute : “red”. Do not forget to use all lower-case characters.
You can upload your swatch images to the server if you have the access. Upload the image here : [Magento install directory]/media/wysiwyg/swatches
Now, to upload swatch image to the media storage, do the following :
- Go to CMS -> Pages -> Manage Content in the admin pages.
- Click to open any pages in the edit mode.
- Click “Content” in the left panel.
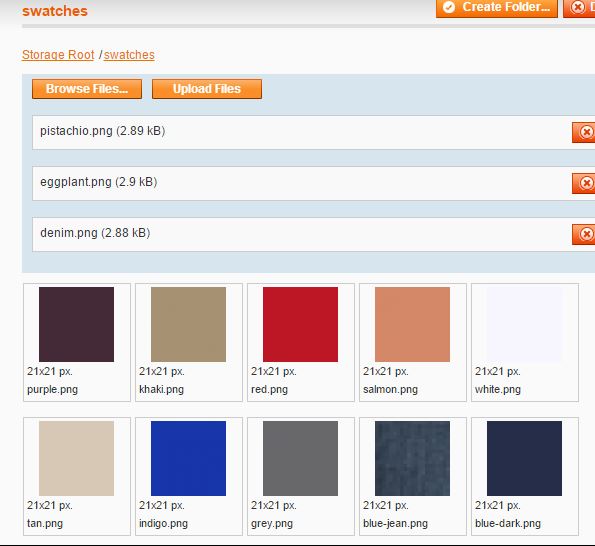
- In the Editor, click the “Insert Image” button. You can see the directory tree on the left side. Click the swatches folder, and do the following :
- Click the “Browse” button, and locate the images which you want to use for your swatch. You can either upload each image one by one or upload all of them at the same time.
- Click the “Upload Files” button. Your uploaded images should appear at the bottom part now.
- If you are done uploading all the images, click the “Close” button. It is located at the upper-left corner.
- When the system prompts you to refresh the cache, click the “Cache Management” link and refresh all the invalid cache.
- Upload swatches as product image
You can use this method to associate swatch images with a specific kind of product. To upload swatches as product image, do the following :
- In the Admin Panel, go to Catalog -> Manage Product.
- Find your configurable product in the list, and open it in edit mode.
- If you set the image for a specific store view, set “Choose Store View” to the store view where the images will be used.
- Click “Images” in the left panel, then do the following :
- Click the “Browse Files” button. Choose an image you want to use as a swatch.
- Click the “Upload Files” button.
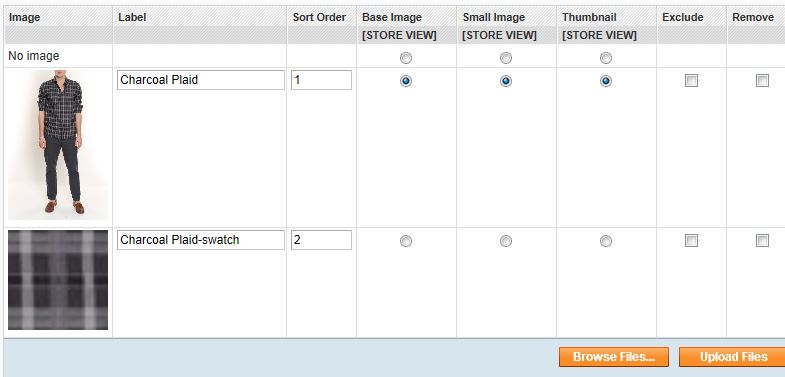
- Type a label for each swatch image. Use this format :
color-swatch
This label will help identify the image as a swatch which associated with this one particular product. Do not choose any remaining options. By default option, swatch image will not appear as the thumbnail image.
- Click the “Save” button.
- When the system prompts you to refresh the cache, click the “Cache Management” link and refresh all the invalid cache.
Test The Swatches in Your Online Store :
This is the last process you need to do. You must verify whether your swatches appear in the front store or not. If you still do not upload any images for the swatches yet, the default text-based swatches should appear there.
If there is any missing drop-down option from your configurable product, do the following :
- Make sure you set the ” Use in Layered Navigation” to “Yes”.
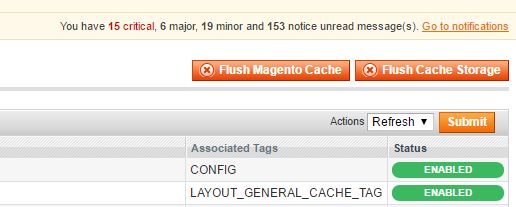
- Go to System -> Cache Management. Click the “Flush Magento Cache” button.
That is how to create swatches for your product. If you have any question or problem, please tell us in the comment section.